
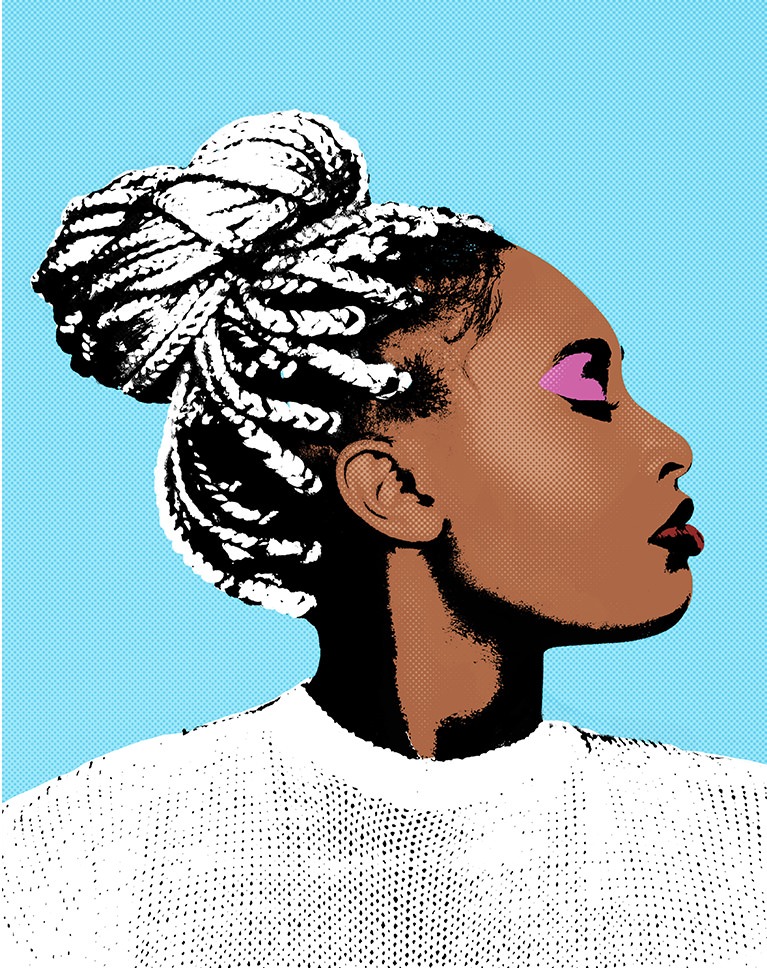
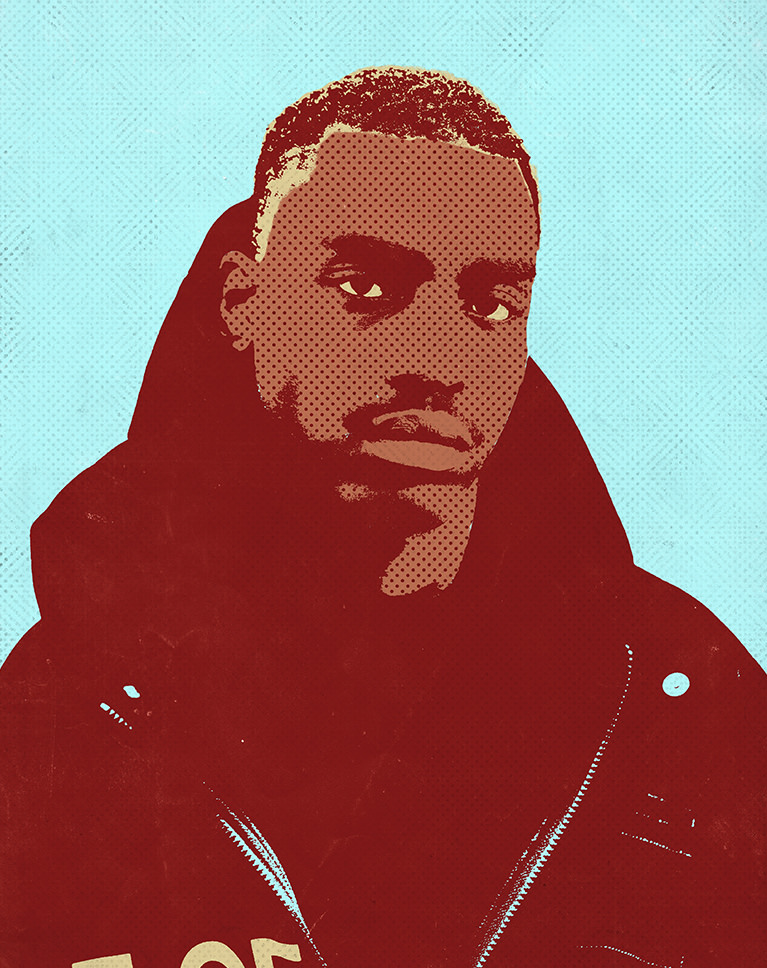
Have you ever wanted to add a touch of pop art to your portraits? With the Pop Art Effect In Photoshop, you can turn your photos into colorful and eye-catching works of art. In this post, we'll give you some tips, ideas and step-by-step instructions on how to create a Warhol-style pop art portrait from a photo using Adobe Photoshop.
Step 1: Choose Your Photo
The first step is to choose a photo that will work well with the pop art effect. Choose a portrait with a simple, high-contrast background and bright, bold colors. It's best to select a photo of a person with strong features, such as a sharp nose or bright eyes, to give your pop art portrait a unique look.
Tip:
If you can't find the right photo, consider taking a new one with a simple and brightly colored background. Experiment with different angles and facial expressions to find the perfect shot.
Step 2: Create a New Layer
The next step is to create a new layer in Photoshop. This will allow you to apply the pop art effect without changing the original photo. To create a new layer, go to Layer > New > Layer. You can also use the keyboard shortcut Ctrl/Cmd+Shift+N.
Tip:
Before creating a new layer, make sure your original photo is locked. This will prevent you from accidentally editing the photo while you work on the new layer.
Step 3: Apply Filter
With the new layer selected, go to Filter > Filter Gallery. In the Filter Gallery, select Artistic and then choose Cutout. This will give your image the bold, graphic look of pop art.
Tip:
Experiment with different filter settings to find the perfect pop art effect for your photo. Adjust the number of levels, edge simplicity, and edge fidelity to get a unique look.
Step 4: Add Color
Next, you'll want to add bold, bright colors to your pop art portrait. To do this, create a new layer and name it "Color". Use the Paint Bucket tool to fill the new layer with a bright color of your choice.
Tip:
You can use the eyedropper tool to select colors from the original photo, or experiment with new, bold colors to give your pop art portrait a unique look.

Step 5: Add More Color
Now it's time to add more color to your pop art portrait. Create a new layer and name it "Color 2". Use the Paint Bucket tool to fill this new layer with a contrasting color to the first color you used.
Tip:
Don't be afraid to experiment with different color combinations. Try using a complementary color scheme, or use shades of the same color to create a more subtle effect.
Step 6: Add Text
To complete your pop art portrait, consider adding text. Choose a bold, thick font and add a catchy phrase or quote to your photo. Place the text on a new layer above the other layers.
Tip:
Try using a contrasting color for your text to make it stand out. If you're not sure what to say, try using a popular quote or song lyric that fits the theme of your photo.

Step 7: Save Your Work
Finally, save your pop art portrait. Go to File > Save As and select a format that works for your needs, such as JPEG or PNG. Be sure to give your file a unique name and save it to a location that's easy to find.
Tip:
Consider printing your pop art portrait on canvas or high-quality paper to create a unique piece of art for your home or office.
With these easy steps, you can turn any photo into a beautiful and unique work of pop art. Experiment with different photos, filters, and colors to find the perfect effect for your needs. Have fun and get creative!
Read more articles about Pop Art Effect In Photoshop