
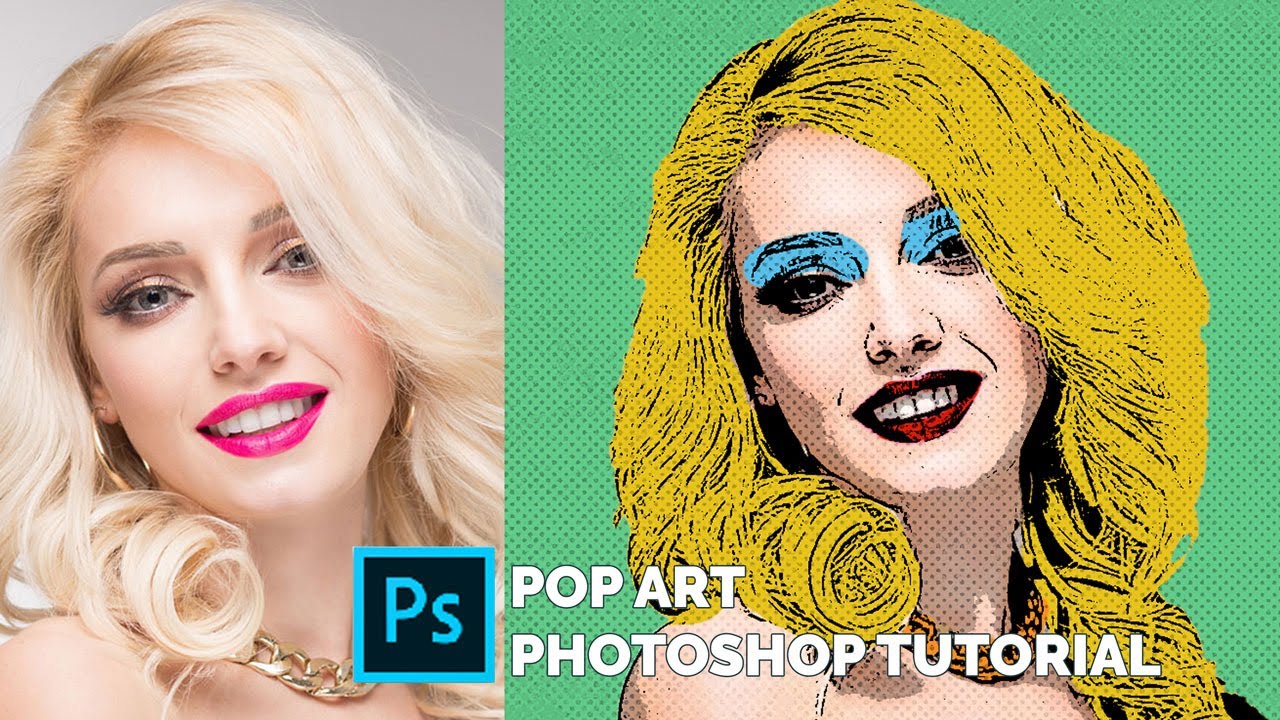
Tutorial Pop Art Photoshop - Have you ever wanted to turn your portrait into a beautiful pop art masterpiece? In today's tutorial, we will show you how to use Photoshop to make a pop art portrait from a photo. This vibrant and stunning style of art is perfect for capturing the attention of your audience and making your images stand out. With just a few simple steps, you can transform any ordinary photo into a stunning pop art work of art that is sure to impress.
Step 1: Choose the Right Image
Tips:
When choosing an image, it is important to choose one that will work well with pop art style. Look for images that have bright colors, bold lines, and high contrast. You also want to choose an image that is not too busy, as you want the subject of your image to be the focus.

Step 2: Transform Your Image
Ideas:
Next, you will want to open your image in Photoshop and make any necessary adjustments. This may include cropping the image, adjusting the brightness and contrast, or removing any unwanted elements. Once you have your image looking the way you want it, it is time to begin transforming it into a pop art masterpiece.

Step 3: Apply Filters
How To:
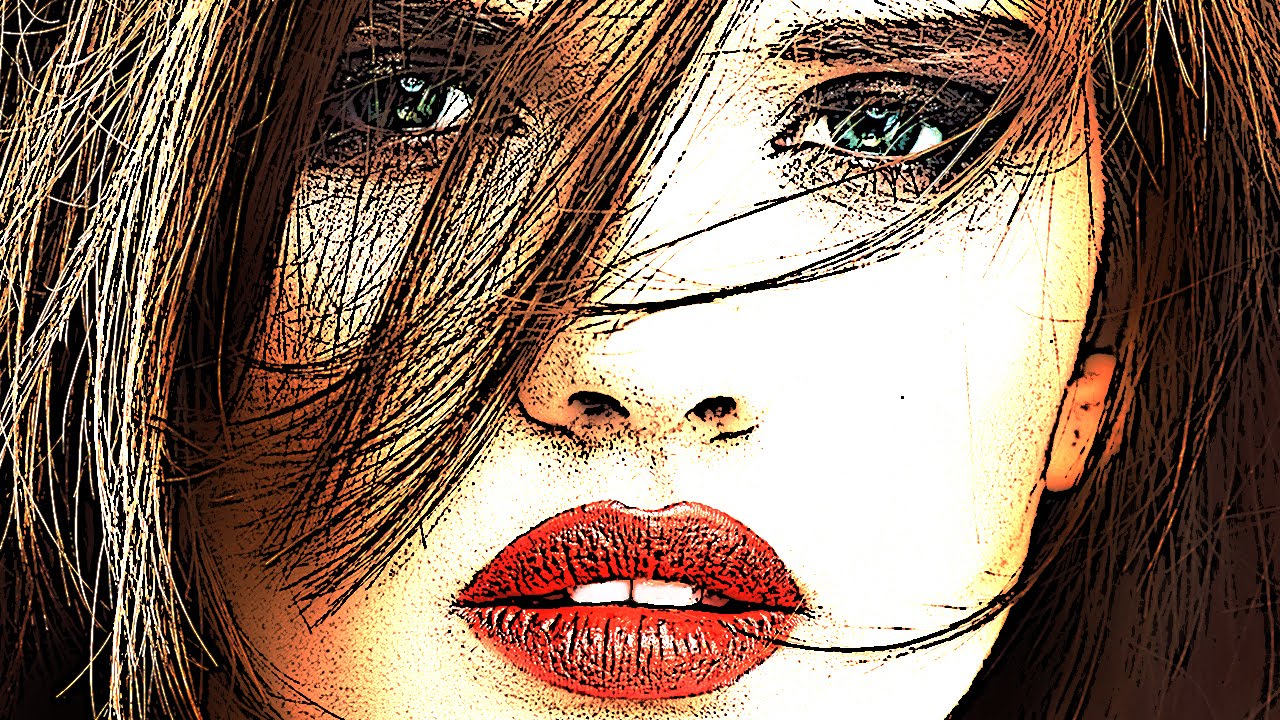
There are a variety of filters you can use in Photoshop to achieve the pop art effect. One popular choice is the Andy Warhol filter, which creates a colorful, graphic style similar to the iconic Warhol prints. To apply this filter, go to Filter > Artistic > Cutout. This will give your image a bold, graphic look that is perfect for pop art.
Step 4: Add Color
Tips:
To add even more color to your pop art portrait, you can use the Hue/Saturation adjustment. This tool allows you to adjust the colors in your image, making them more vibrant or changing them entirely. You can also use the Gradient Map tool to create a gradient of colors across your image, adding even more depth and dimension to your pop art portrait.

Step 5: Final Touches
Ideas:
Finally, it is time to add those finishing touches that will make your pop art portrait truly unique. This may include adding text or graphic elements to your image, or using the Clone Stamp tool to remove any final imperfections. Experiment with different techniques and filters until you are satisfied with your creation.
Congratulations! You have now created a stunning pop art portrait using Photoshop. Whether you are using these techniques for personal projects or for commercial work, you are sure to impress your audience with your new skills. So go ahead and experiment with different techniques and filters, and see what unique creations you can come up with.
Find more articles about Tutorial Pop Art Photoshop